10.11.2007

Finishing the Tiles


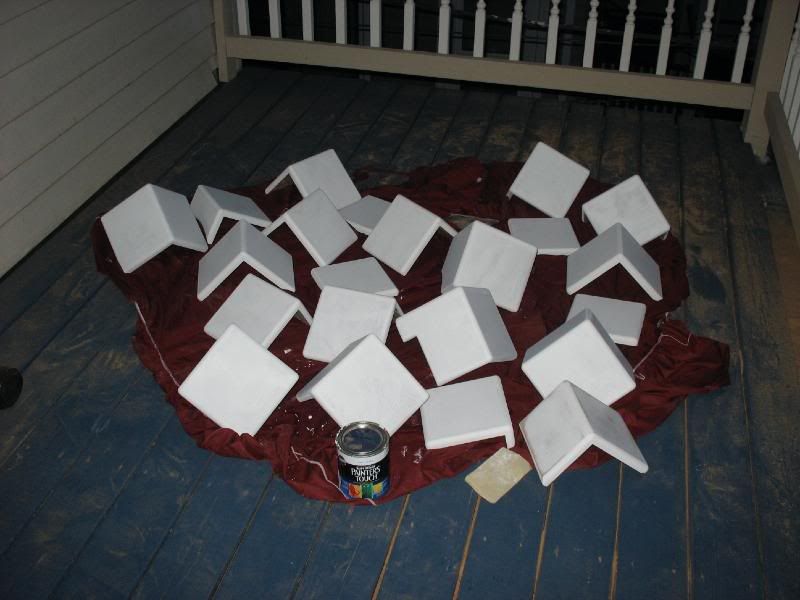
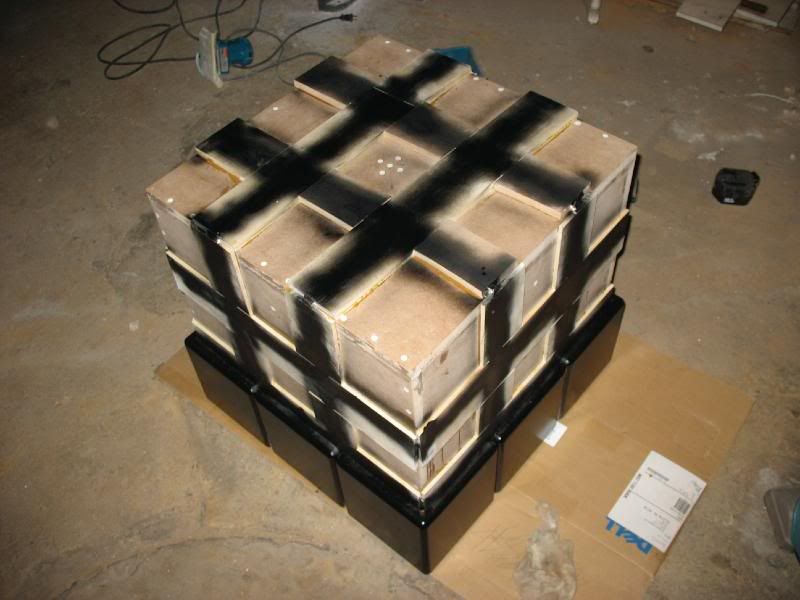
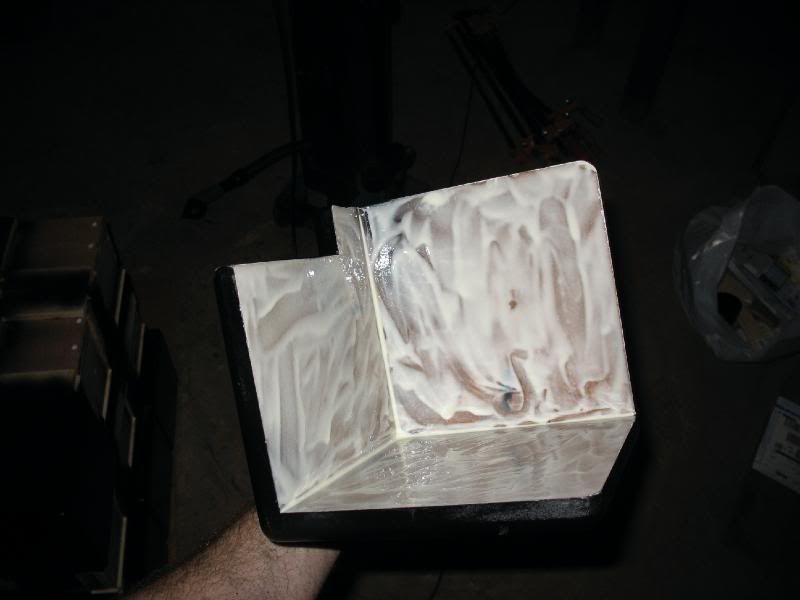
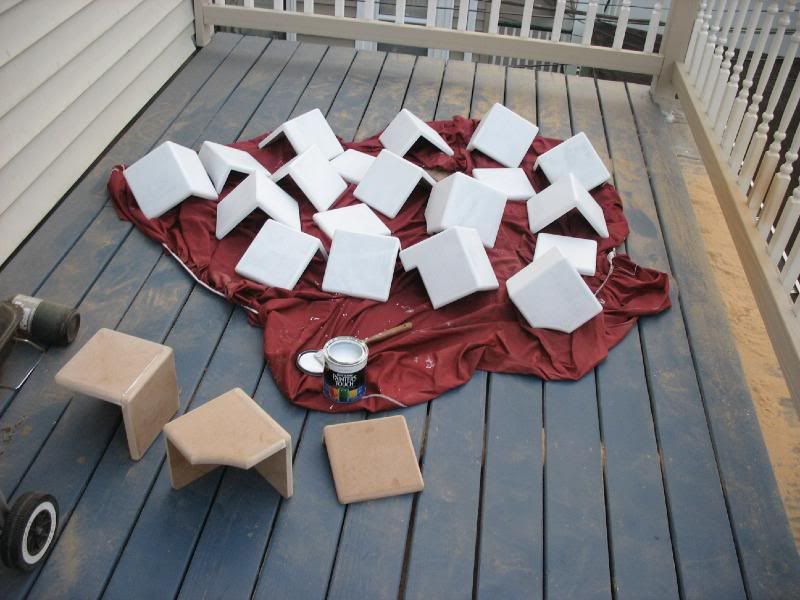
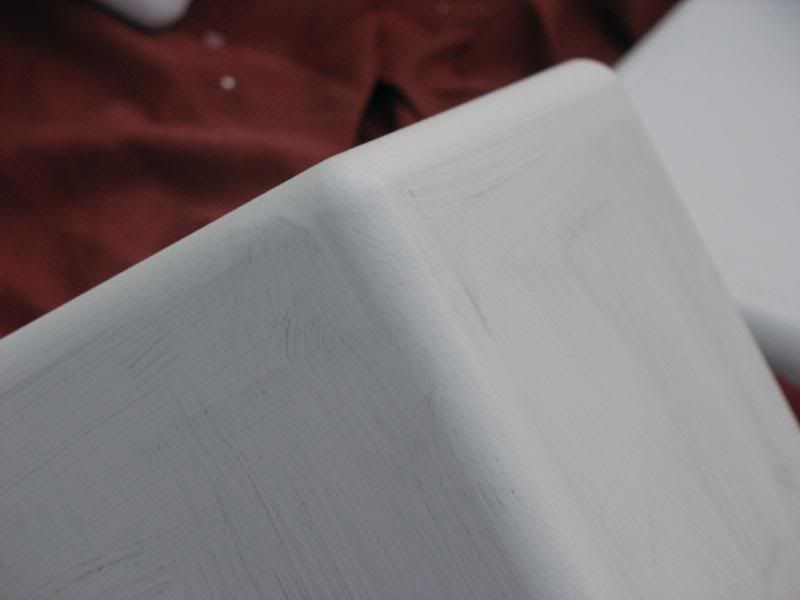
Painting and priming the tiles. I'm priming them in titanium white so the black will pop rather than soak into the wood grain.


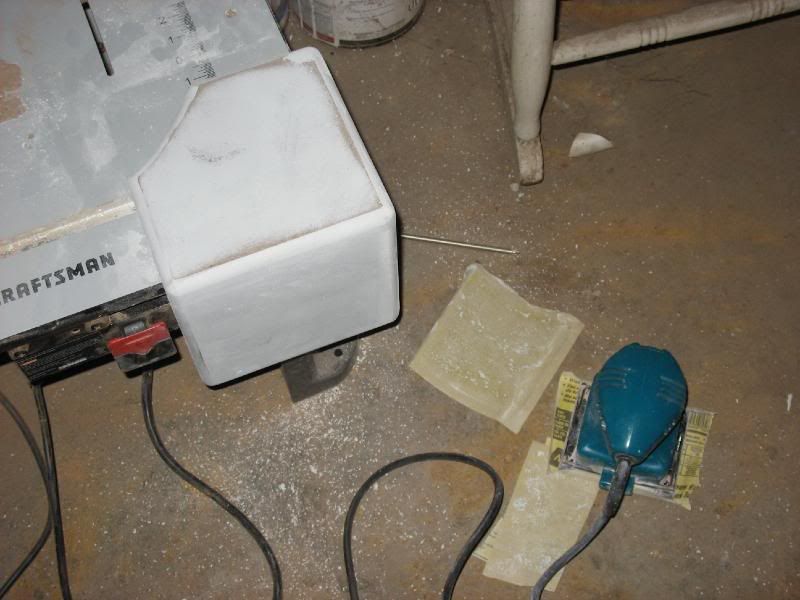
Once painted, the tiles are sanded with 400 grit and tacked for a plastic sheen


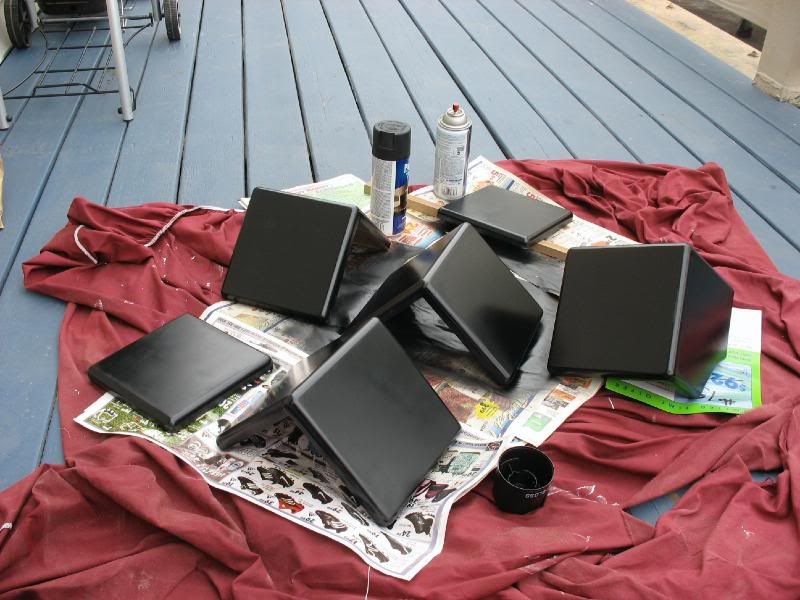
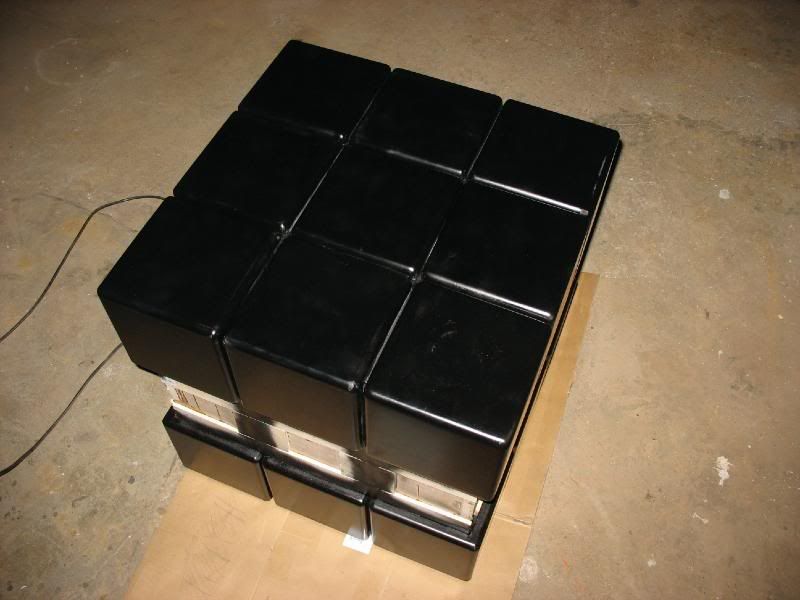
Once sanded, spray it black.

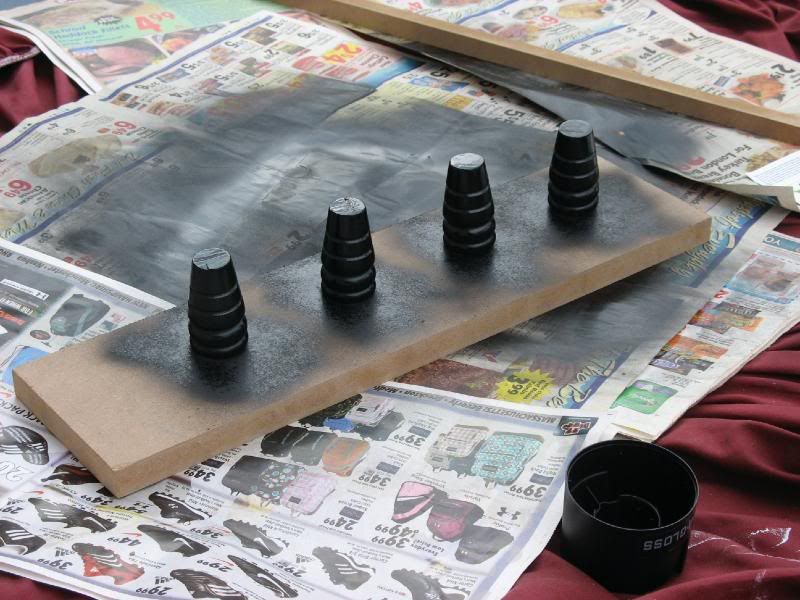
Feet v1.0


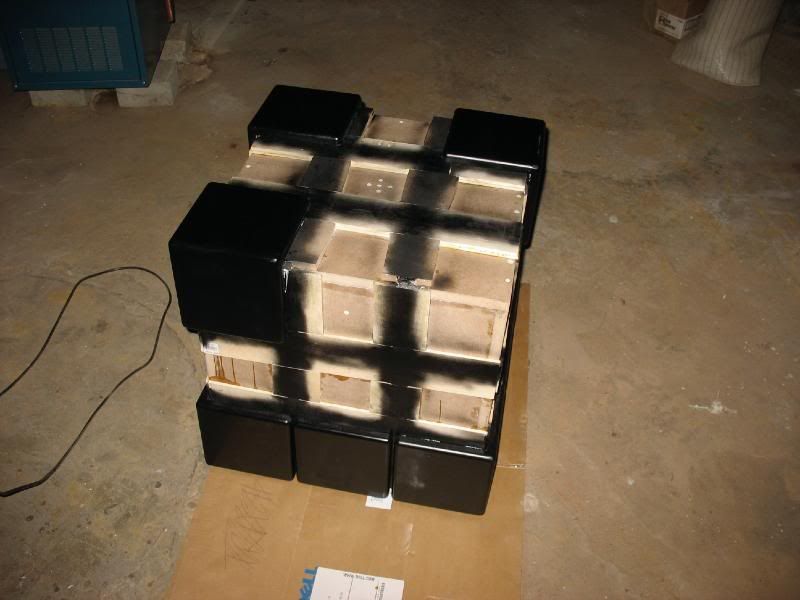
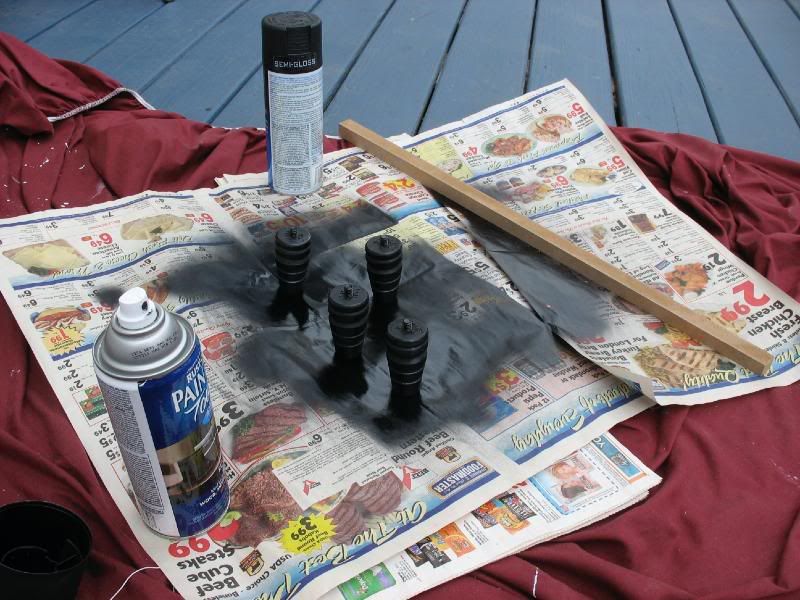
Getting back to the feet, pretty self explanatory, just sanding and painting...


Finishing off the Shell


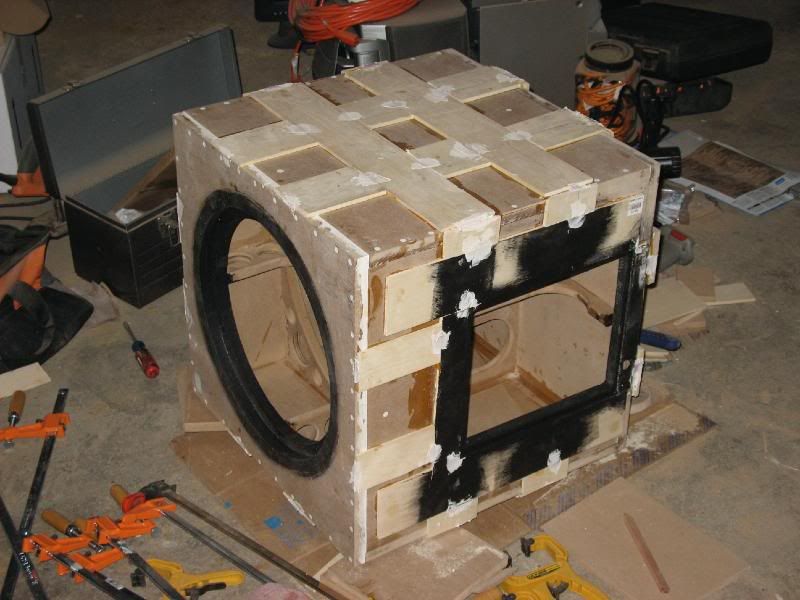
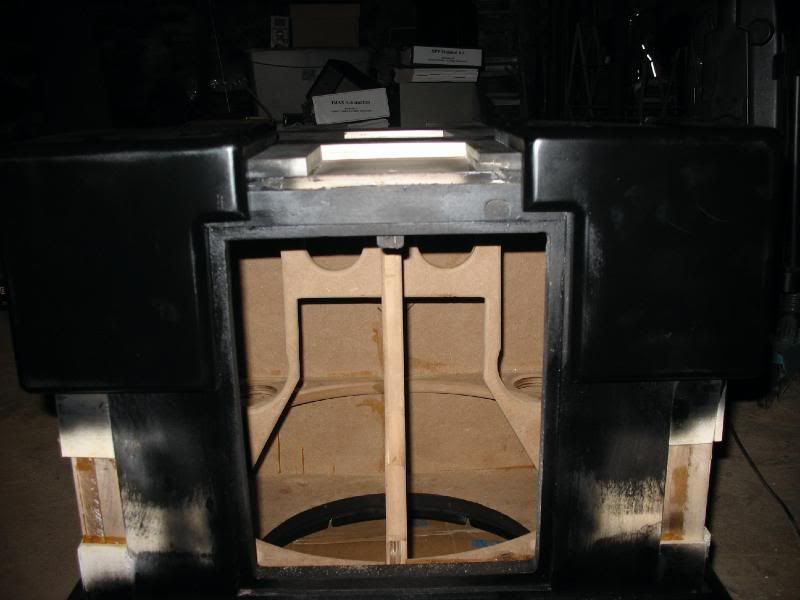
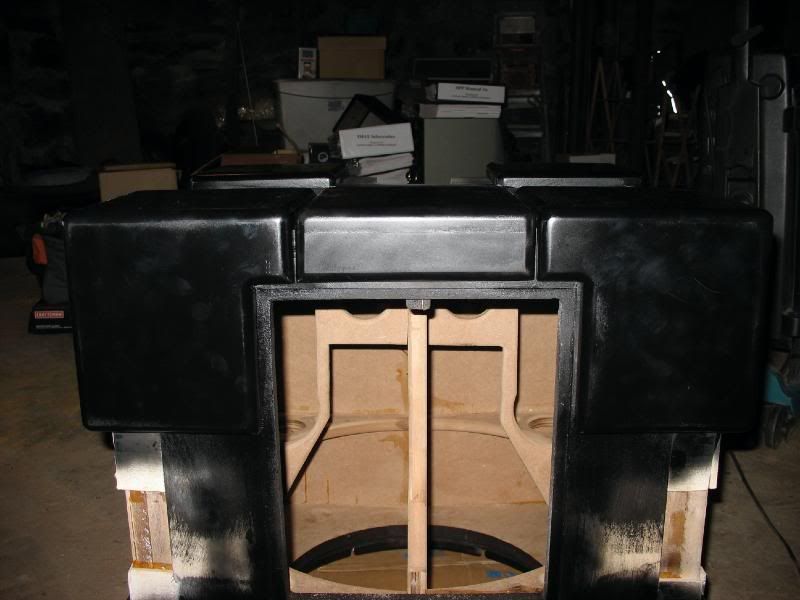
The driver and amplifier openings are painted black just for sealing purposes - neither of these will be seen


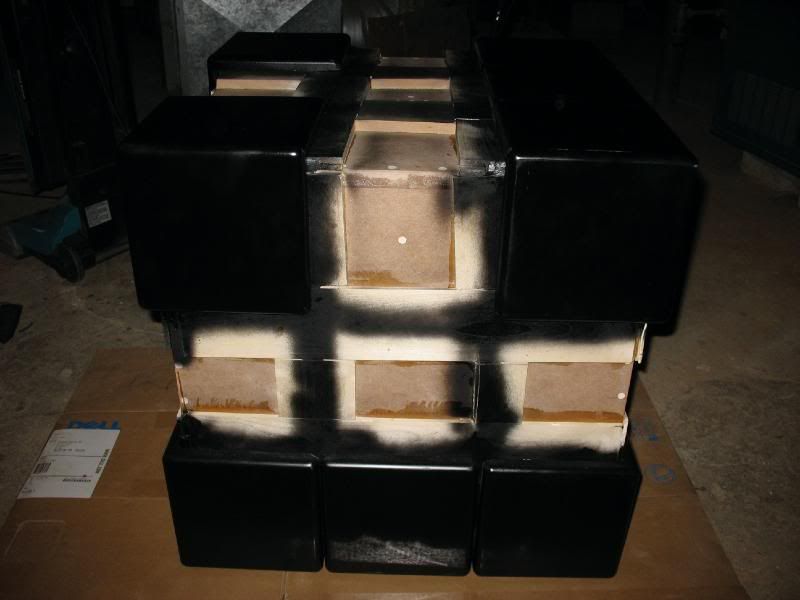
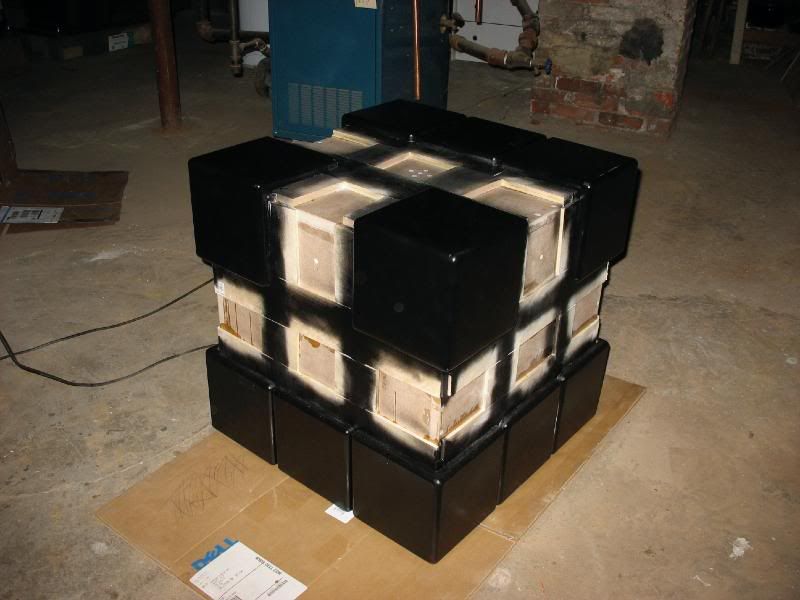
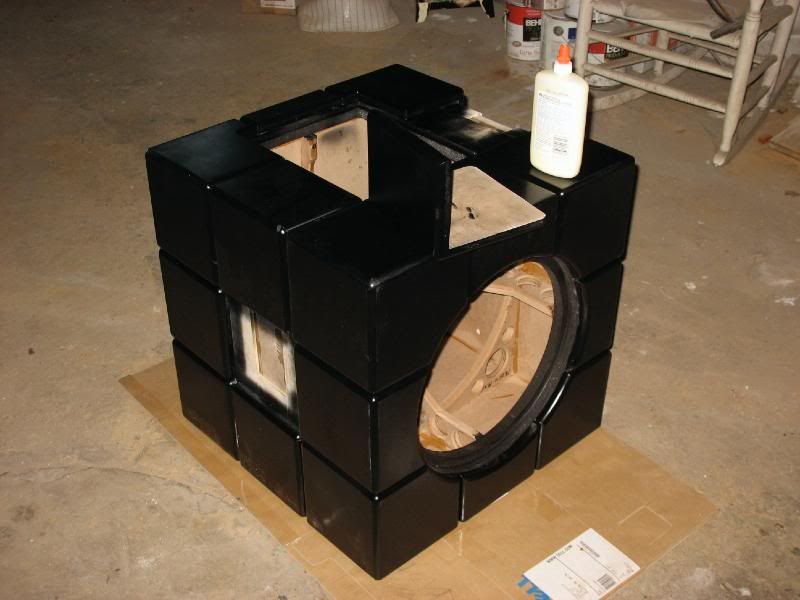
As mentioned above, here's the shell with the 1/4" extensions on all sides. Each of the joints in between the slats are plastered, just in case. All are painted since the color will be visible. The slats, rather than covering the entire surface, have been positioned to straddle the tile seams - there are a few inches on both sides for the tiles to adhere fully.

Tile Assembly


All slats are painted before any tiles are adhered.


The corners are put on first - this allows floating space between the two so the center tiles can be evenly spaced.


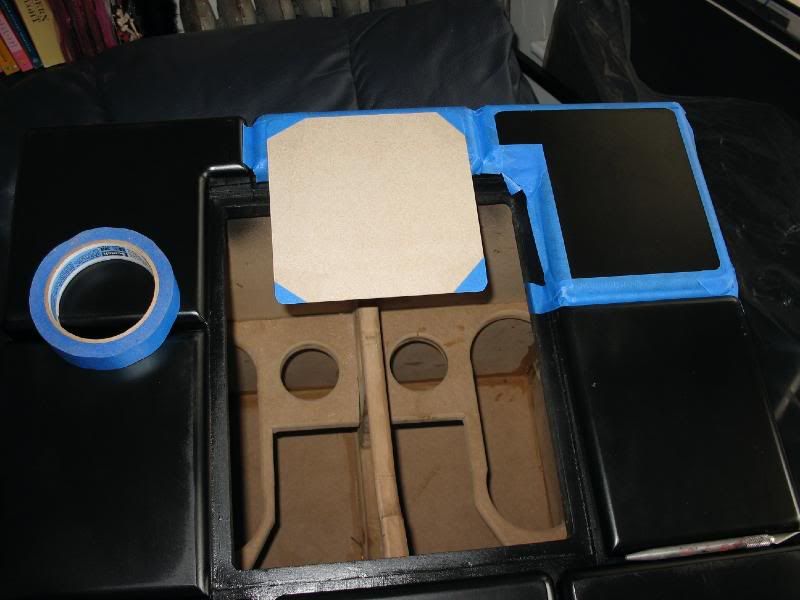
The cut out tiles and amp - they were etched true to the shell opening


'Cover the entire surface and make Norm happy.'


A fully completed side - finalized backing color and spacing.


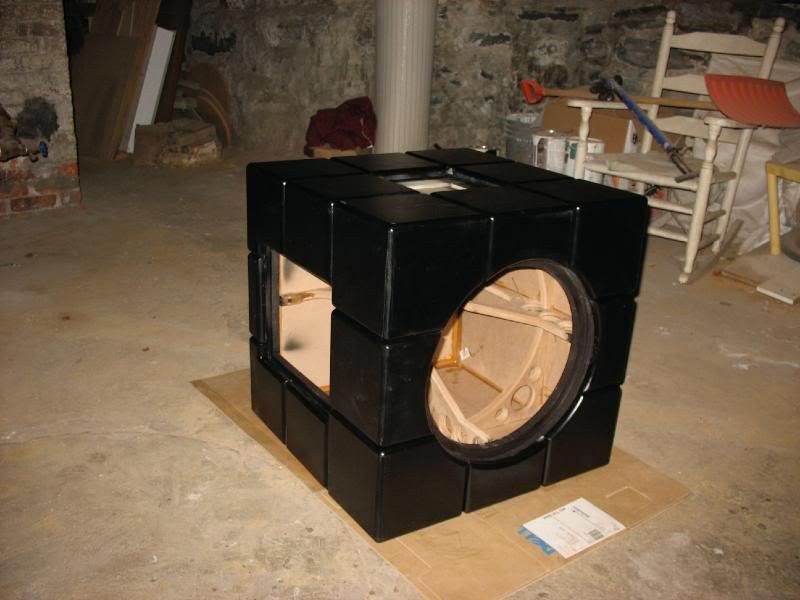
Nearly all sides complete - it's now so heavy that i can't lift it without stretching first...~120 lbs.


The last picture taken at the old apartment - the new apartment will see the final painting...

The First Round of Painting


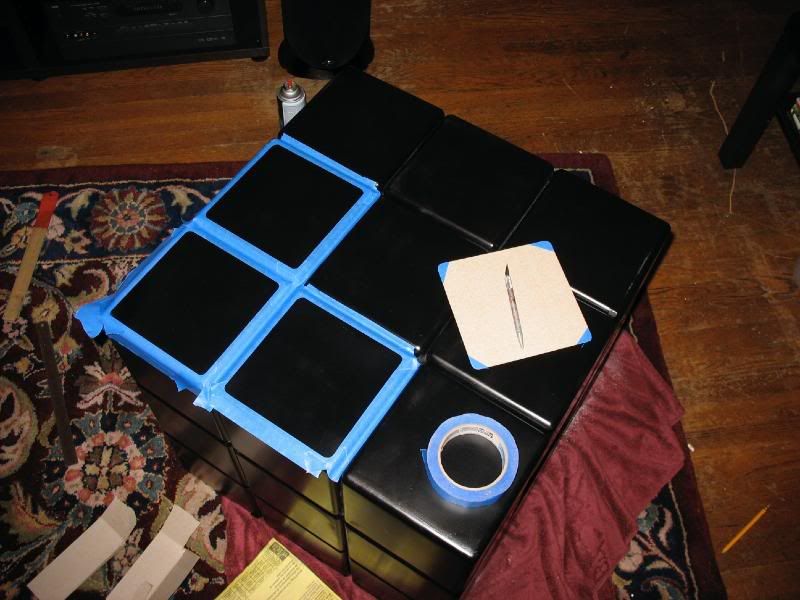
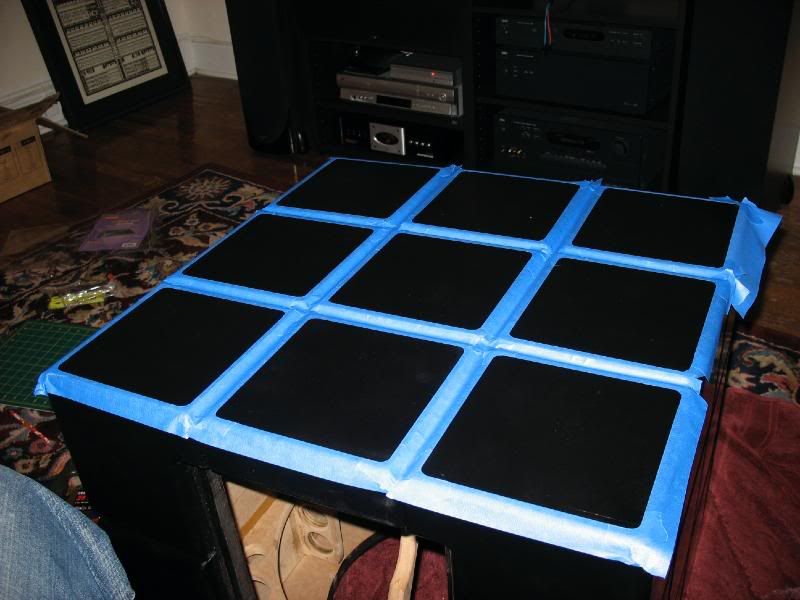
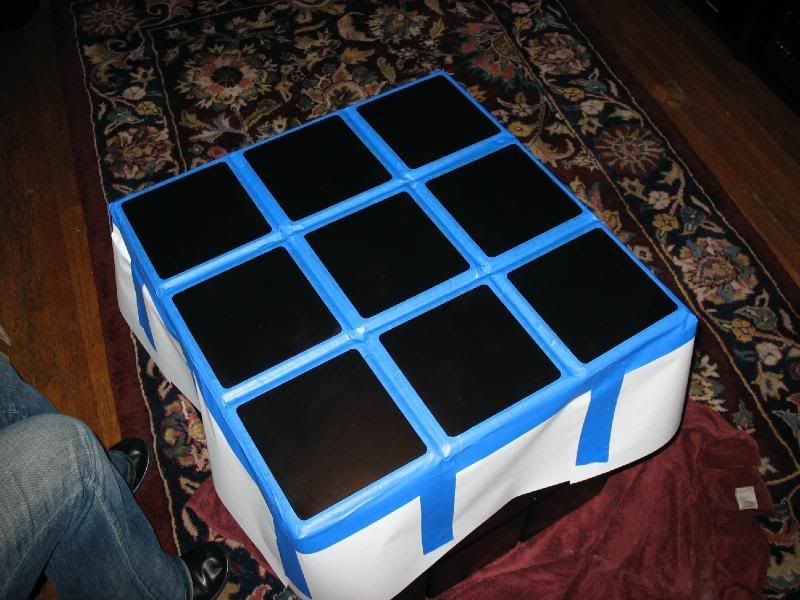
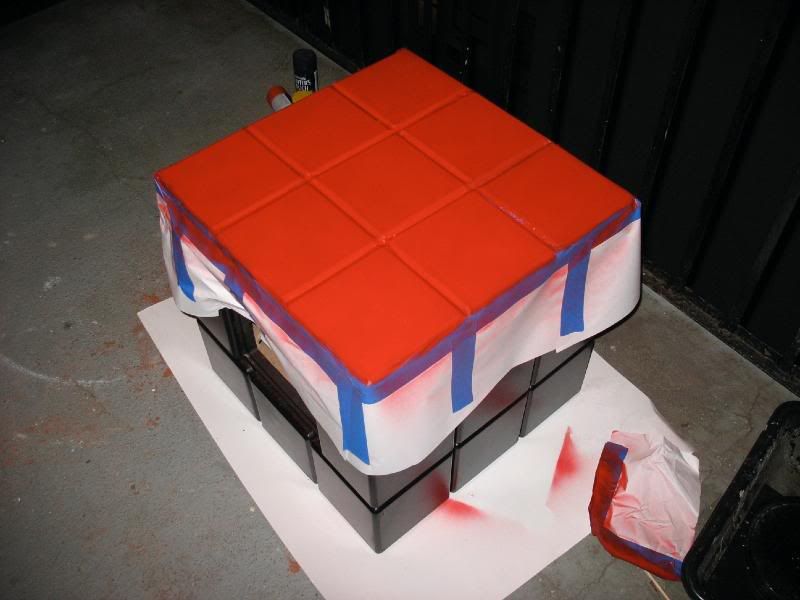
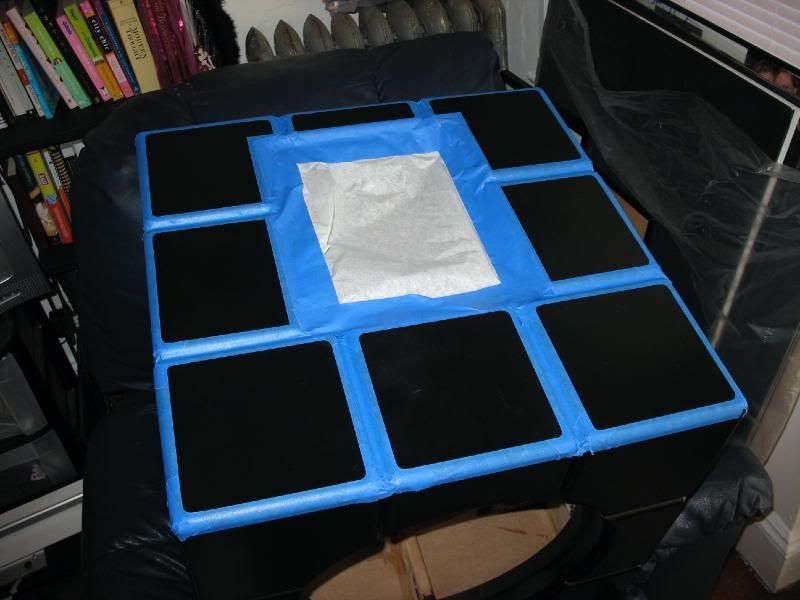
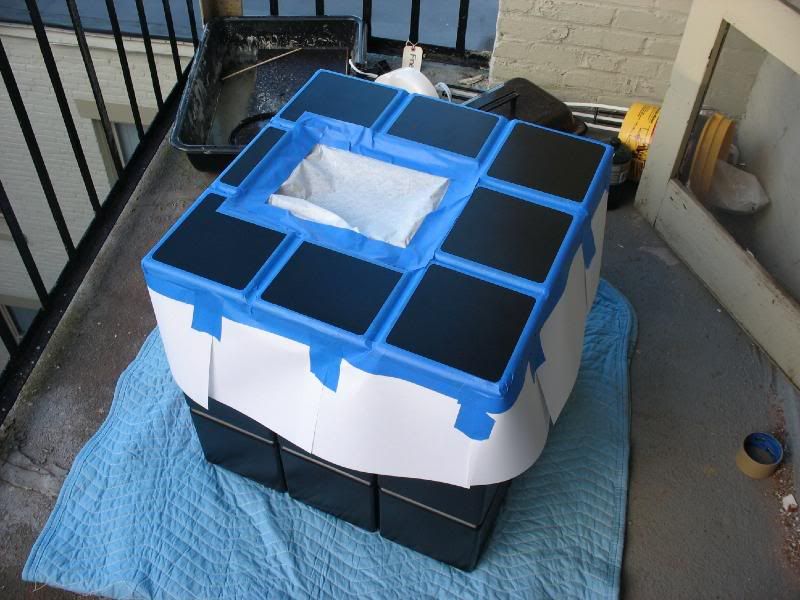
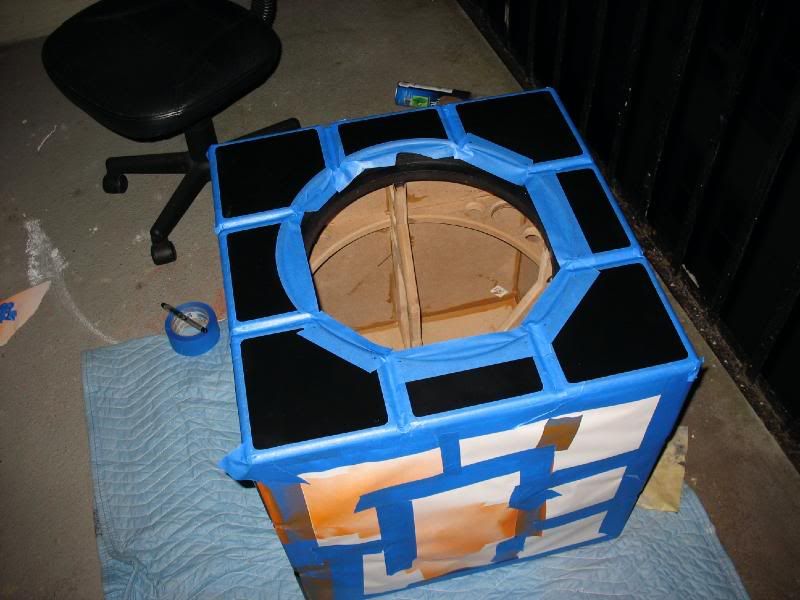
New apartment! After taking a couple weeks break to set up the new place, I can resume. In order to paint the proper size colored square on the cube, I made a jig to scale and taped/cut over it on all 53 squares. Notice I have painted the background first and then put the color on top of this - this is because I want the color to really pop off the background. Putting a few coats of paint on the surface will make it appear as though it is on top of the background rather than a part of it. This is meant to simulate the adhesive stickers placed on the puzzle 1/10 it's size.


Completely taped, making sure to cover all surfaces from over spray


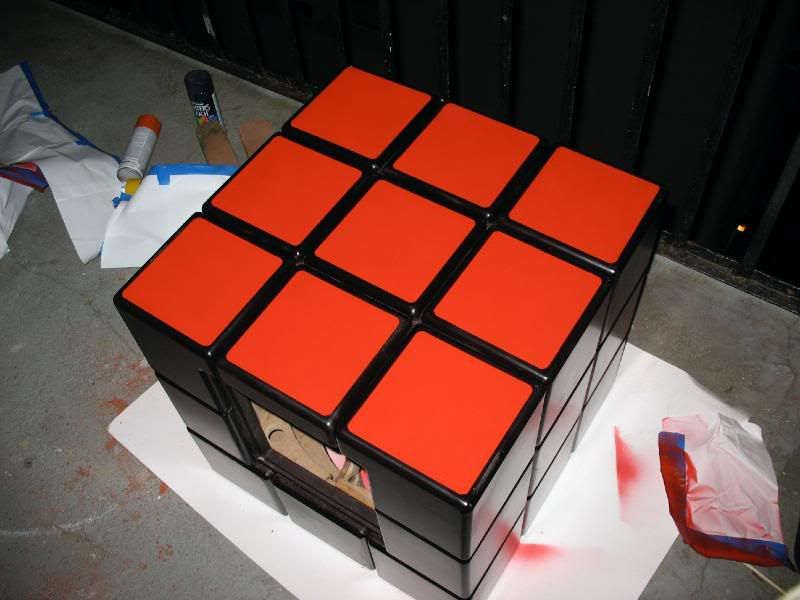
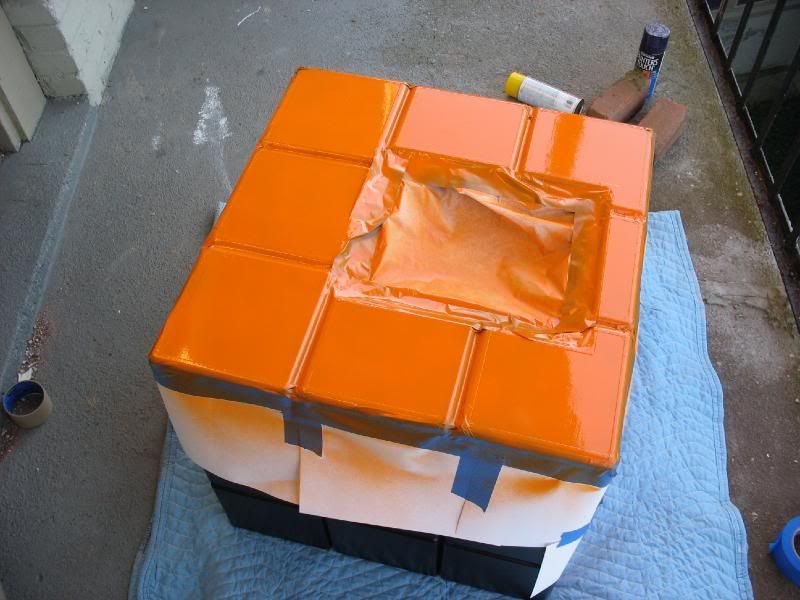
Completely painted - let it dry overnight and peel it off in the morning, if you've sealed your tape properly then it should work just fine...


The prototype side completely painted. I've decided to put red on top. Seeing my art, 60 days work thus far, take shape is the ultimate rush for me...

Painting the Amp Side


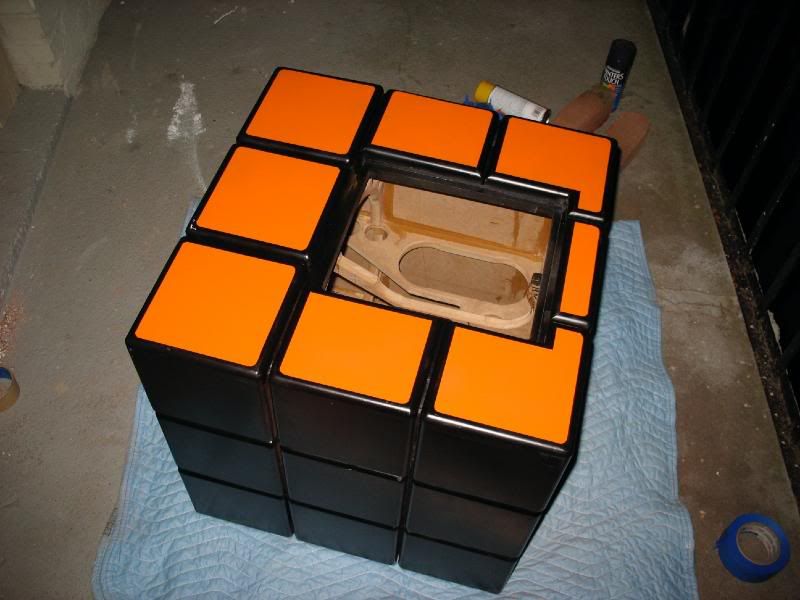
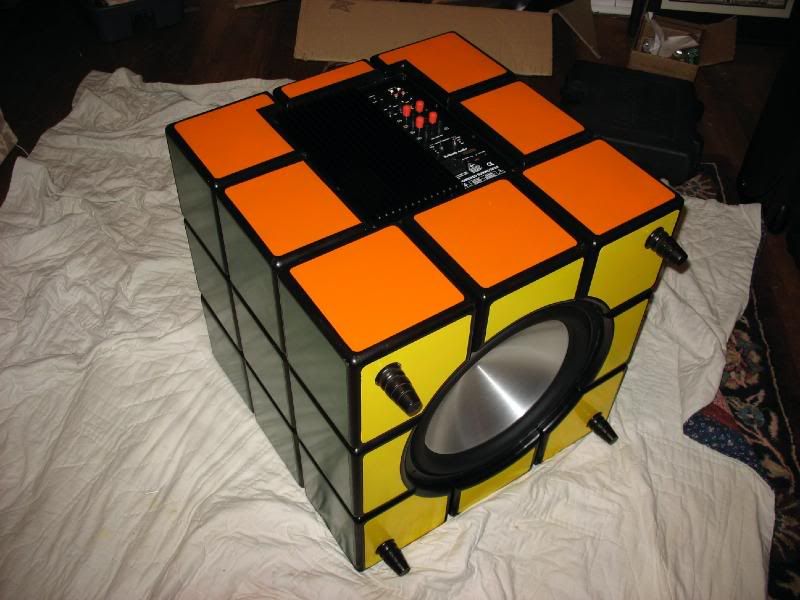
The amplifier side - I've decided to make this side orange


Taped and painted in the same manner as the top side.


The completed (orange) amplifier side. Looks pretty good.

Painting the Driver Side


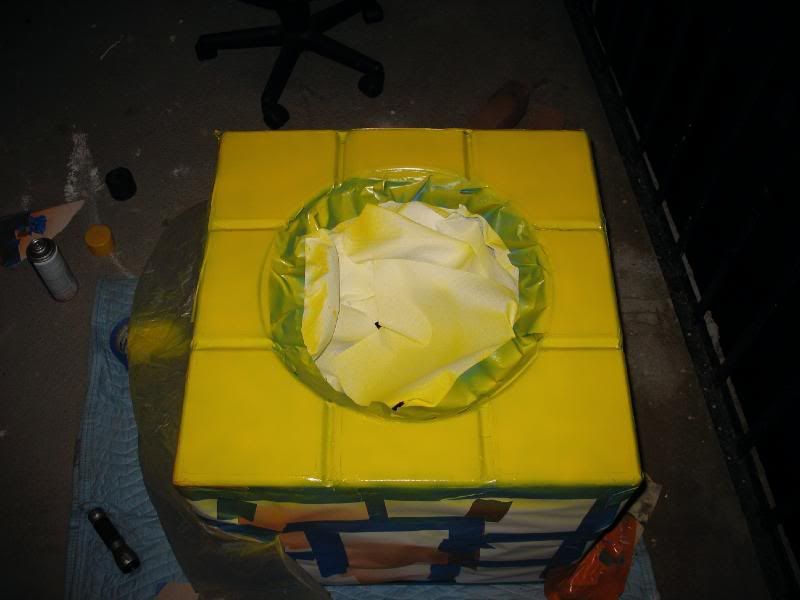
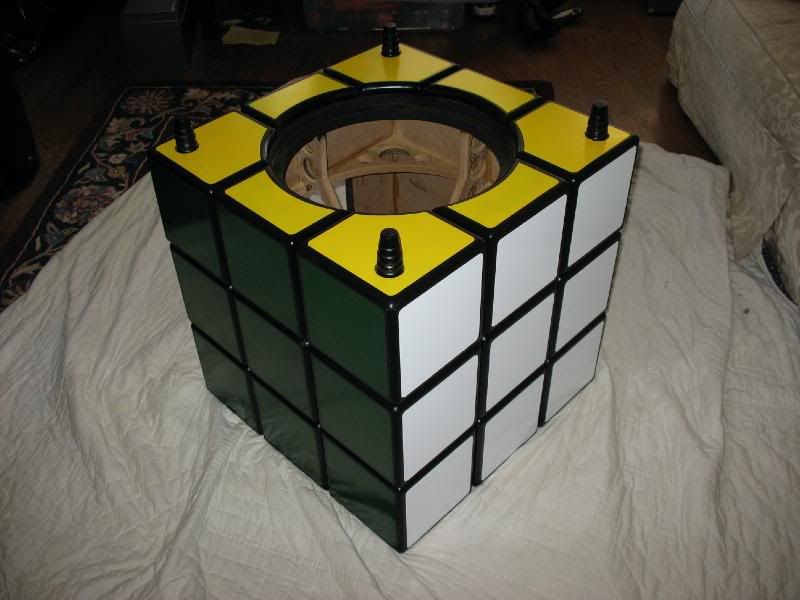
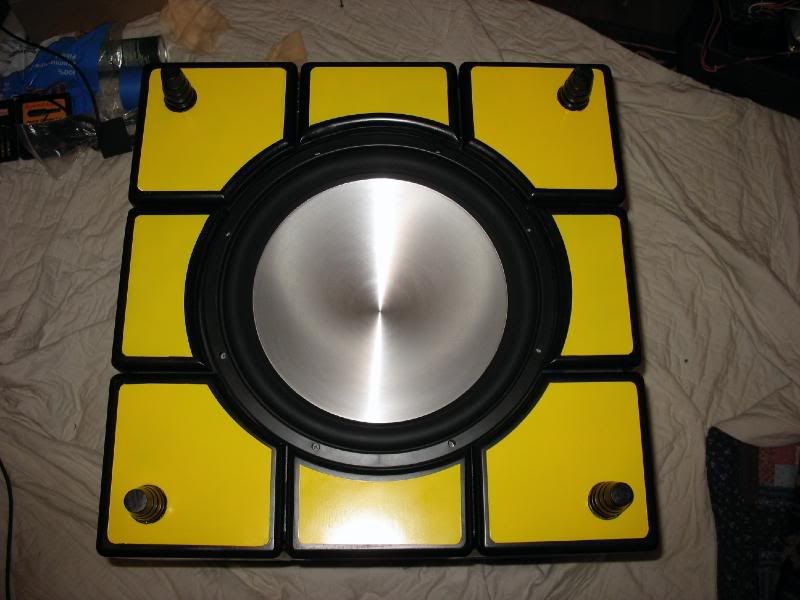
The bottom driver side - I've decided to paint this side yellow as it's my least favorite color on the Rubik's cube - looks damn good against the black though...


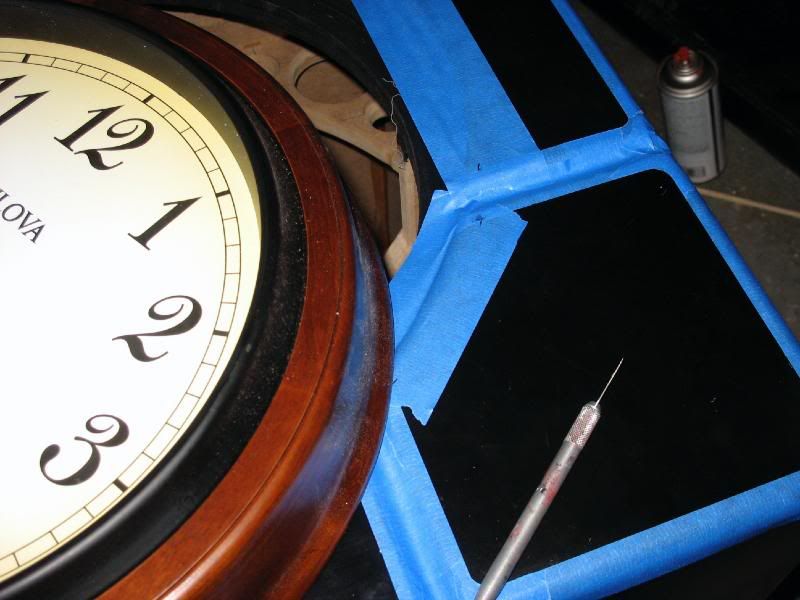
I knew getting a nice round edge next to the driver was going to be tough - I played around with ideas for a few days before I settled on a method I thought I'd try. Turns out it didn't work, I knew I was going to need something round that I could use as a guide to make the driver cutout into the colored squares. By sheer chance, I own a clock that happens to be the exact same diameter as the driver - worked as a perfect guide for that nice round edge. It's really the only way, I also tried free handing before clocking - the tape and the results weren't nearly as good.


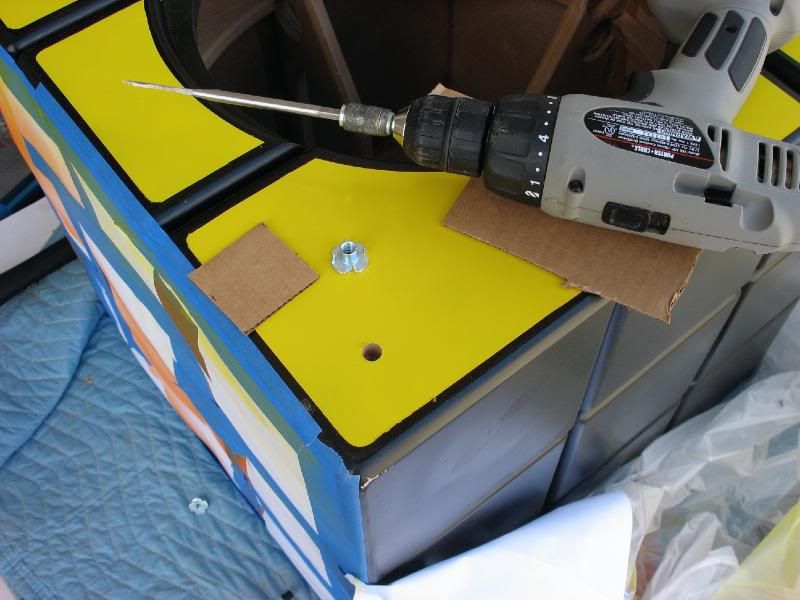
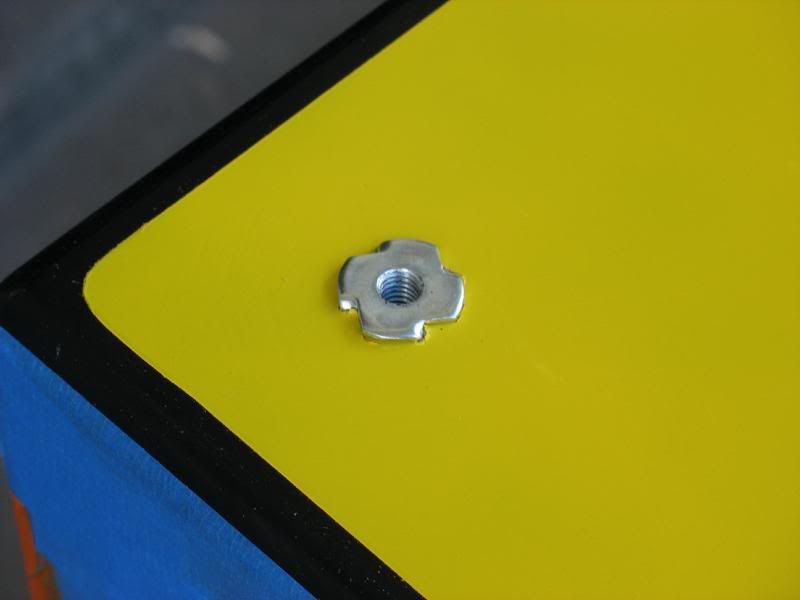
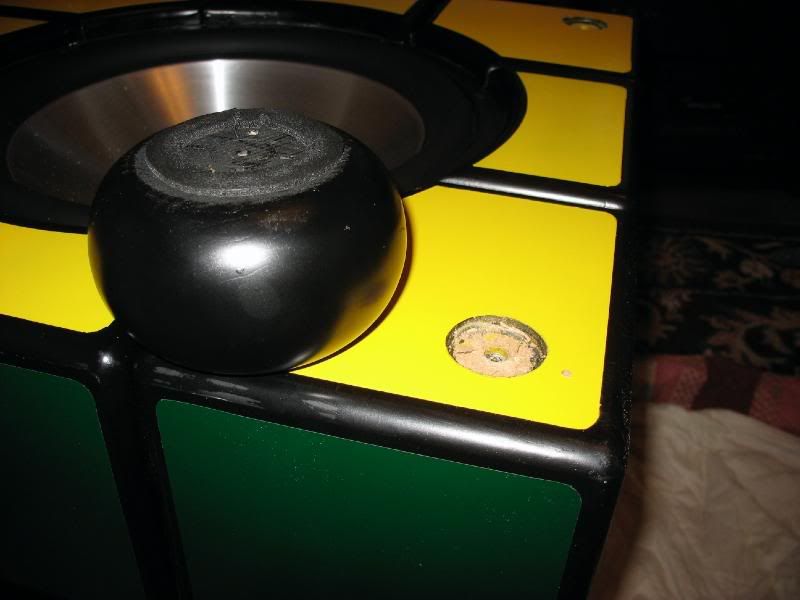
Now back to v1.0 of the legs I mentioned earlier. My original design called for these legs to be attached via T-nuts into the tiles. As i was saying, the weight of the sub by now is around ~120 lbs. After attaching the legs and seeing the wobbly T-nuts i knew these things weren't going to stand a chance. After flipping it over and nudging it, 2 of them ripped out without effort. Despite matching the funky theme, I made the decision to swap them out - only 2 design changes during building - not too bad.


The attached T-nut that later ripped out, ha

The Final Painting


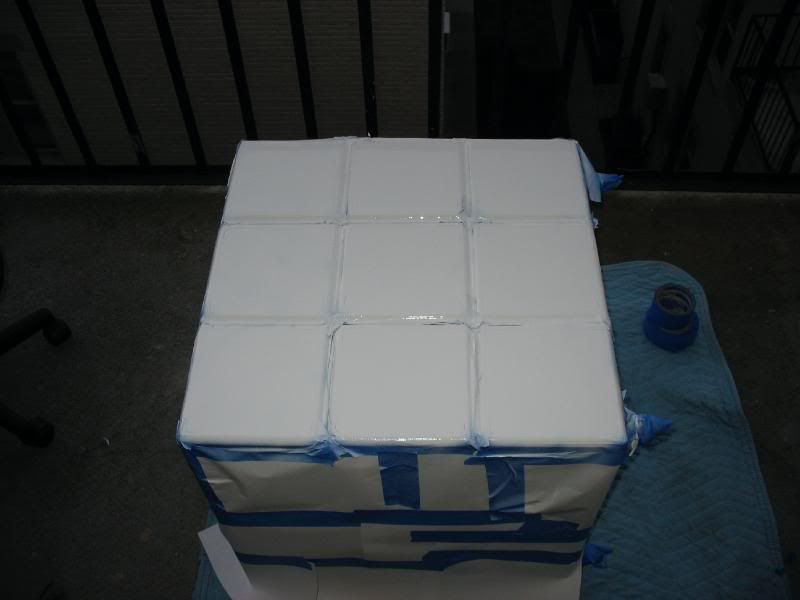
The white side gets painted


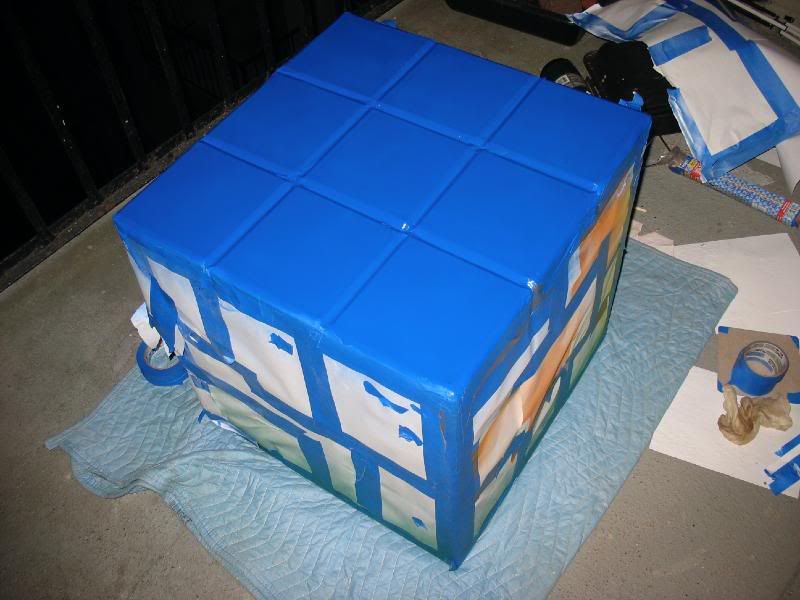
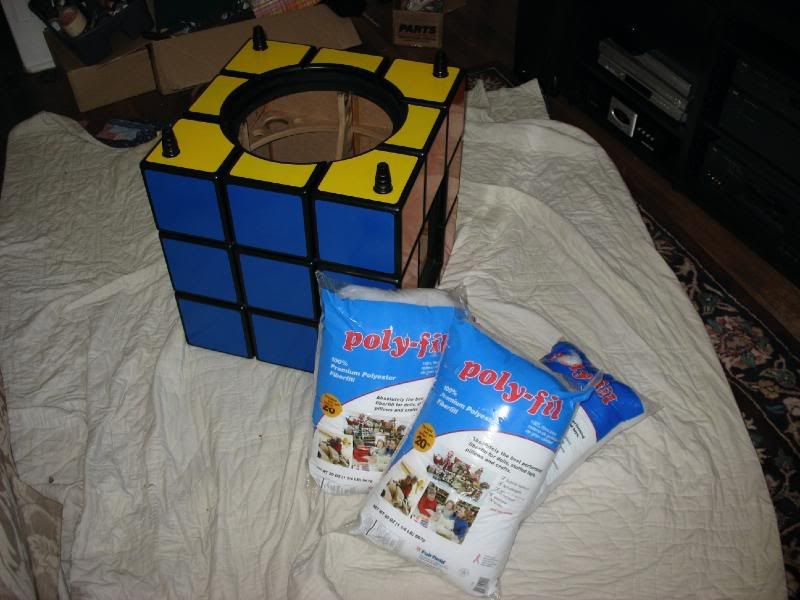
and the blue side...


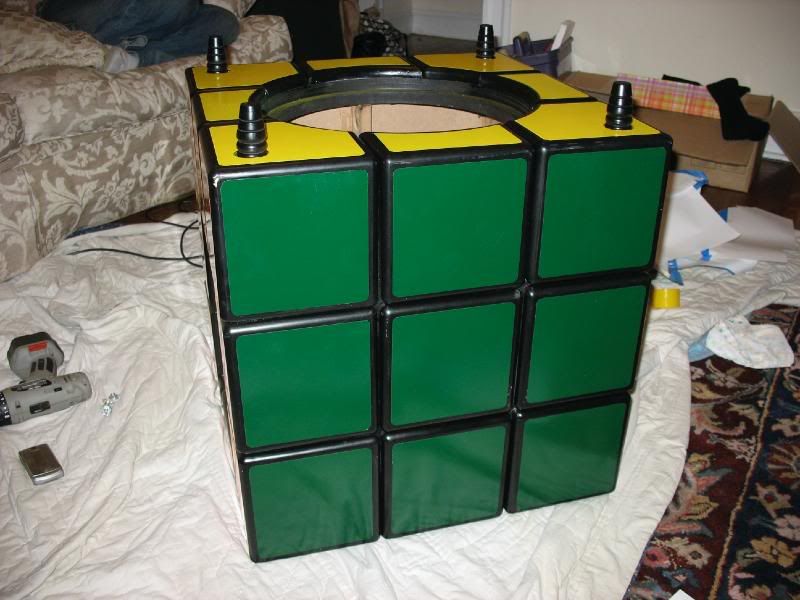
the green side finished...


It goes very fast in the pictures, but the taping alone on of these sides took 3.5 hours...


One completed, painted, box.

Stuffing Party!


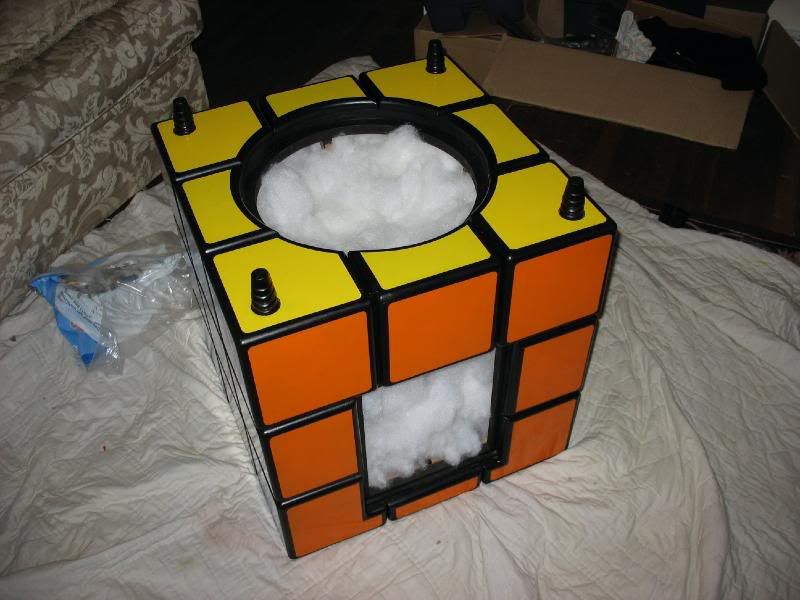
I found that around .75 lbs of poly-fil/1 cu. ft of air sufficed nicely. As I've said, my box has been extensively measured to have as close to 3 cu. ft of air as possible but, in reality, is a tiny bit small. When boxes are too small the sound waves from the driver will hit the walls and bounce too quickly. This causes reverberation, rattles, and ultimately ugly sounding bass. This can be fought through stuffing - the goal here is to slow down the sound waves through the box and trick it into thinking it's bigger than it is.


One completed, painted, and stuffed box.


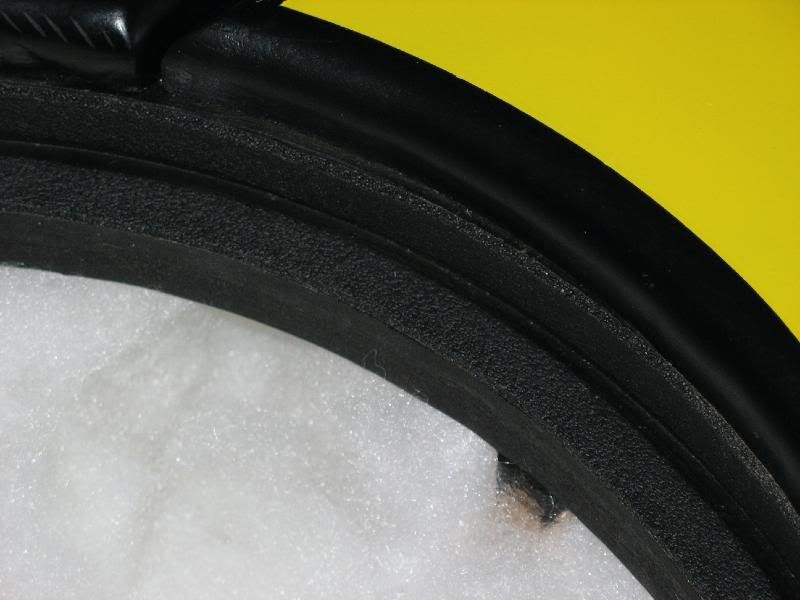
I have used 1/8" x 3/8" closed cell rubber gasket around the side and underneath the cone and basket. This is absolutely necessary to forming an air tight seal on the box. This is also where the painting comes in handy - by applying it you are filling any tiny surface abrasions that act as holes in your seal.


The driver screwed in and sealed to the shell - when screwing into the rubber gasket tape, it's not uncommon to have to circle back and tighten screws as the rubber expands in certain areas, the drilling/screwing/leveling process should be handled with extreme precision - I spent all afternoon doing this... Notice the Ryhtmik DS-15 has a rubber O-ring around the base of the basket - these types of rings are generally used in car applications. I decided to keep this one on for cosmetic reasons - it helped cover up the shell/tile joint.


The woofer with the driver and amp screwed into place on the shell (not the tiles) with v1.0 feet. It was shortly after this photo was taken that I realized I needed more structurally-sufficient feet.
10.10.2007

Feet v2.0


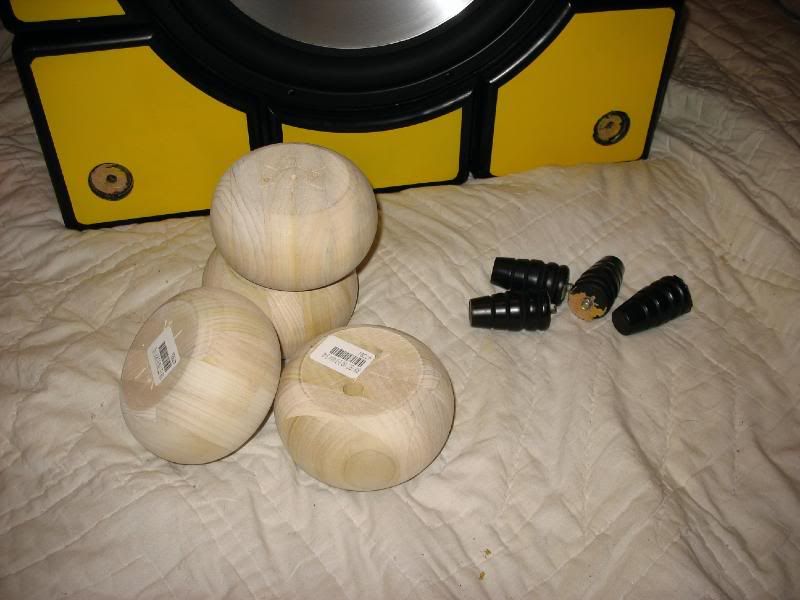
The new legs to be put on - notice I'm keeping the same vertical clearance but increasing the surface area by 5. With 4 high-load capacity bun feet, I think we'll be safe up to and beyond the weight of the sub. I'm attaching them with 3 inch wood screws through the tiles and into the shell, but NOT into the interior! Just to be safe however, I am lining all the feet with same closed cell rubber gasket before anchoring down.
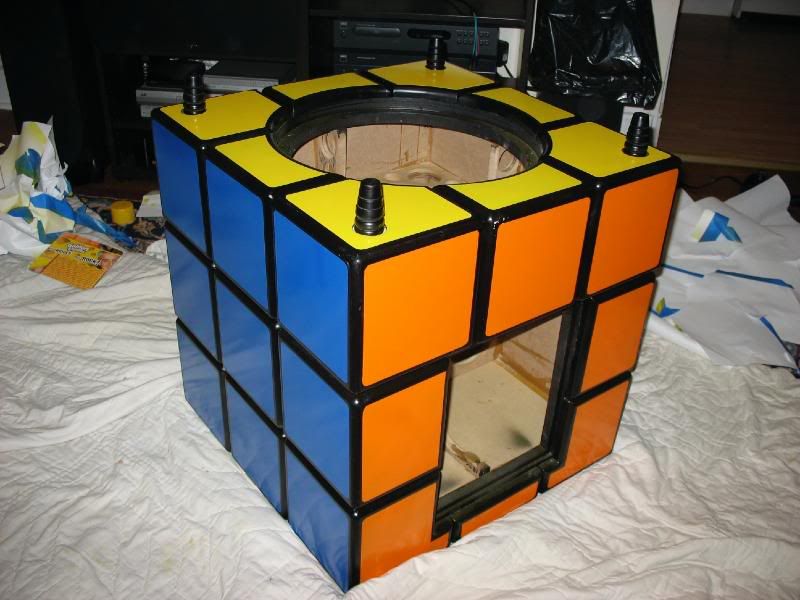
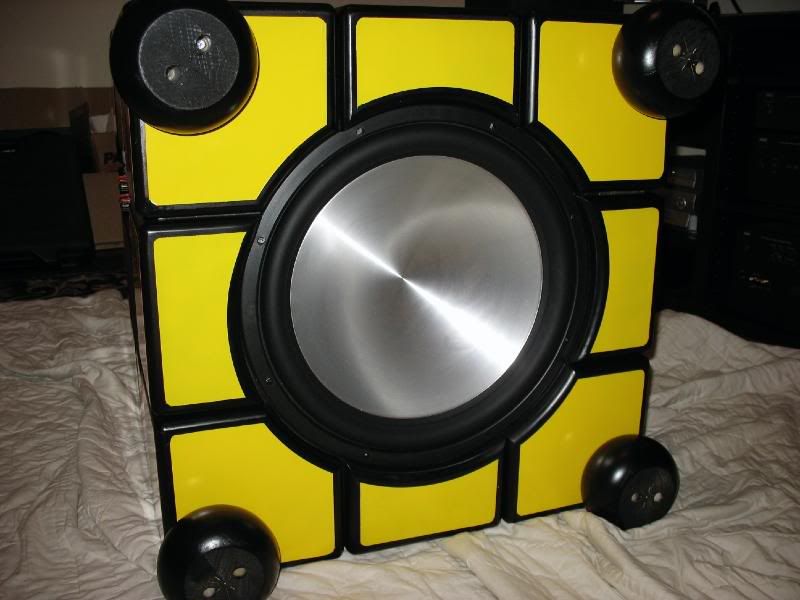
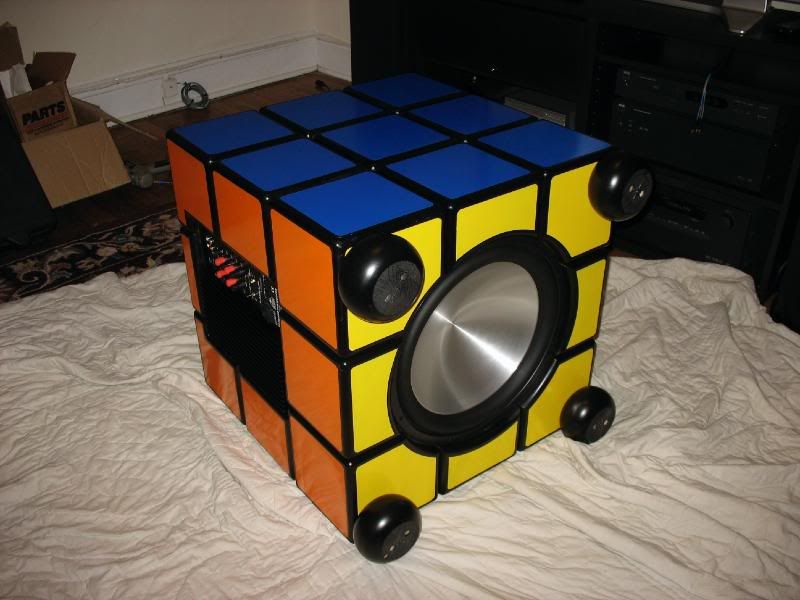

The new feet will line up with the outer corners over the existing feet locations


Pretty menacing...